By Kenra Professional
November 2023

No matter the season, warm tones are always in style when it comes to complementing skin tones and eye color. In the video below, Lo Wheeler (@lo_wheelerdavis) is back with another exciting blonding tutorial and walkthrough to guide you through the process of creating a stunning Honey Blonde balayage. Join us and follow along with the video as we transform the hair while focusing on achieving balance, symmetry, and that coveted honey bronde finish.
Step 1: Assessing the Canvas
Start by analyzing your client's hair. In this particular case, there's a mix of colors and tones from previous salon services (which is fairly common), with the nape area being completely virgin. Identify areas that need more dimension or key face-framing pieces and decide where to strategically place each painted piece for optimal balance.

Step 2: Bunny Piece Moment
To bring balance to the balayage, we kick off with the "bunny piece" moment, which is different than the ever-popular money piece. This refers to the section visible when hair is pulled up into a bun. Since the nape is mostly natural, this is the perfect spot to begin. Use a lower and slower lift technique, employing a soft, subtle V and W painted technique for heavy saturation through the ends leading up to a more natural root.

Step 3: Tackling the Front Pieces
Moving to the front, near the ears, address the pre-lightened but not fully blonde sections. Apply a technique with soft v-shape patterns, overlapping old color, and ensuring the lightener reaches the ends for optimal brightness. Work towards a more natural, diffused look by adding highlights to the high points in each section.

Step 4: Crafting a Natural Look on Top
As you reach the top, aim for a natural appearance. Combine subtle v's and singles to allow the natural base color to shine through, creating a low-maintenance, highlight-diffused look.

Step 5: Shadow Rooting and Toning for Perfection
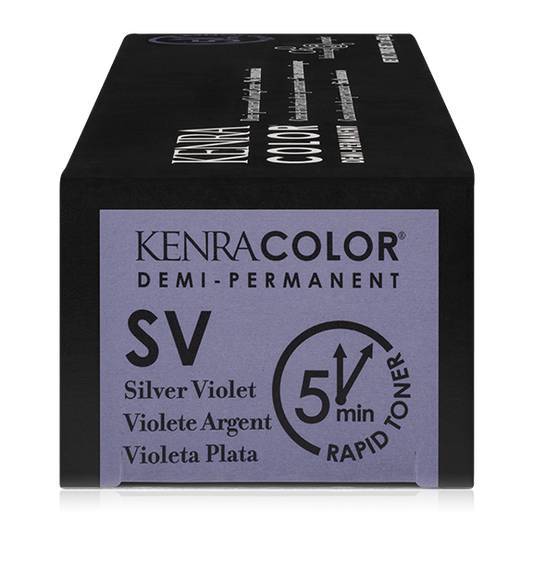
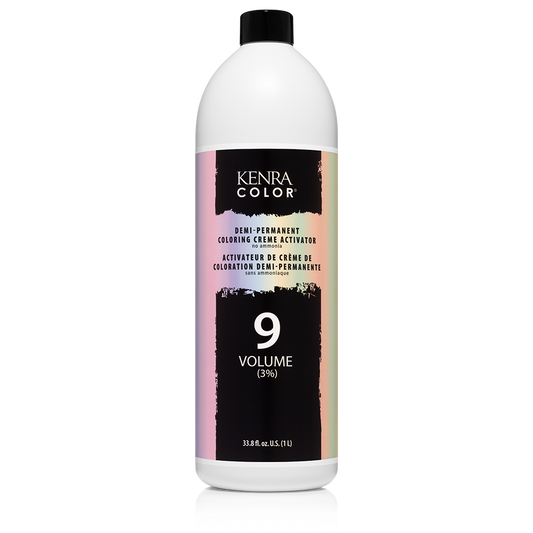
Now that the balayage is complete, cancel out warm tones with a pre-tone using Kenra Color Demi-permanent Rapid Toner SV mixed at a 1:2 ratio with Kenra Color 9 Volume Activator and process for up to five minutes. This step ensures a seamless transition and sets the stage for the final stunning result.
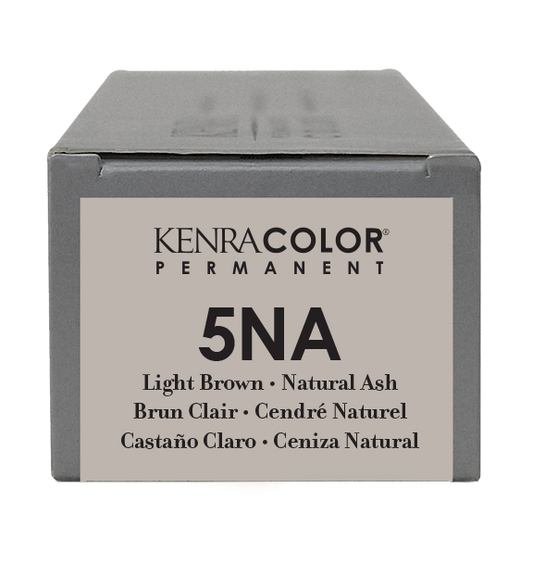
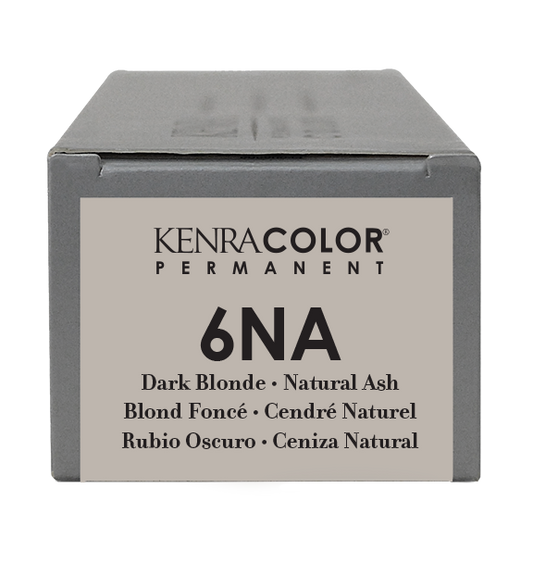
For this particular client, Lo achieved the perfect balance at the base by using a root formula of 5NA with a touch of 6NA to cut richness. Follow it up with an all-over glaze of 8NA for a beautiful honey-bronde finish.

And there you have it! A step-by-step guide to mastering the art of creating a Honey Blonde balayage. Embrace the strategic placement of painted pieces, utilize unique techniques, and finish with precision toning to achieve a beautifully blended and balanced result. Your clients will be delighted with the natural, low-maintenance allure of their new honey-bronde locks. Happy coloring!